English
Quick Home Measurement Checklist
These points are consistent with home monitoring guidance from the American Heart Association and the U.S. Centers for Disease Control and Prevention.
Small Habits That Can Make Home Readings Less Consistent
Most technique problems are simple to correct. The biggest improvement often comes from making each measurement look as similar as possible to the one before it.
Measuring Too Soon After Coffee, Smoking, or Exercise
Recent caffeine, smoking, or physical activity can influence a reading. Allow time for your body to settle before starting.
Skipping the Quiet Rest Period
Sit quietly for at least five minutes before measuring. Avoid calls, conversation, or unnecessary movement during that time.
Measuring With a Full Bladder
Empty your bladder before sitting down for a measurement so the conditions remain more consistent.
Using a Cuff That Does Not Fit Properly
Check the supported arm or wrist circumference in the product instructions before use.
Explore SCIAN upper arm blood pressure monitorsPlacing the Cuff Over Clothing
Place the cuff directly on bare skin according to the device instructions rather than measuring through fabric.
Sitting in an Unstable Position
Use a chair with back support, keep both feet flat on the floor, and avoid crossing your legs.
Letting the Arm or Wrist Sit Too Low
Support the measuring limb so the cuff is approximately at heart level instead of letting it hang down.
Mayo Clinic guidance on wrist monitorsTalking, Moving, or Using a Phone
Stay still and quiet while the monitor is inflating and measuring so each reading follows the same routine.
Relying on Only One Reading
One value is only a snapshot. The American Heart Association recommends two readings about one minute apart for home monitoring.
Changing the Routine Every Time
Try to use the same device, similar posture, the same arm when appropriate, and similar measurement times when tracking trends.
How to Measure Blood Pressure at Home Step by Step
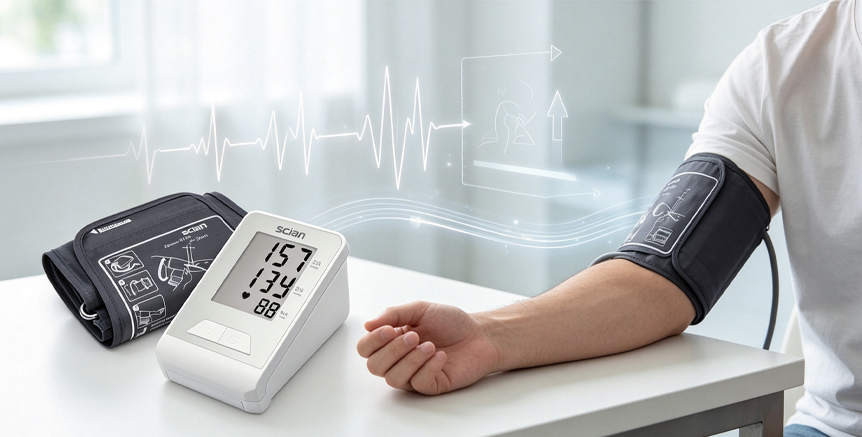
Always follow the instructions supplied with your specific monitor. For an automatic upper-arm device, a typical routine can be organized into six simple steps.
Prepare the Environment
Choose a quiet place, avoid recent caffeine, smoking, and exercise, and empty your bladder.
Sit Correctly
Rest your back against the chair, keep both feet flat on the floor, and leave your legs uncrossed.
Position the Cuff
Place the cuff on bare skin and follow the cuff markings and placement diagram supplied with your monitor.
Support the Arm at Heart Level
Rest the arm on a stable surface so the cuff sits approximately level with the heart.
Start and Stay Still
Do not speak, move, or use your phone until the monitor finishes the measurement.
Record the Result
Use a written log or device memory when regular measurements need to be reviewed over time.
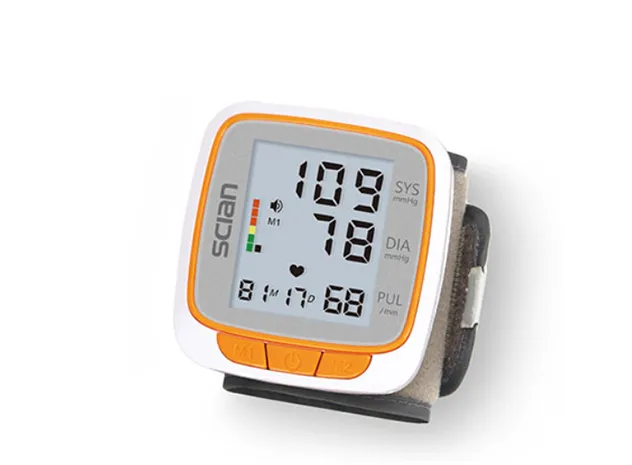
What Do SYS, DIA, and PUL Mean?
The upper blood pressure value, representing arterial pressure when the heart contracts.
The lower blood pressure value, representing arterial pressure between heartbeats.
The pulse rate shown by the monitor, commonly displayed as beats per minute.
A single home reading does not by itself establish a diagnosis. Discuss repeated high, low, or unusual readings with a healthcare professional.
Do Not Judge Your Blood Pressure from One Number Alone
If a result is much higher than expected, remain seated, rest quietly, and repeat the measurement according to your device instructions.
The American Heart Association advises that a reading above 180/120 mm Hg should be repeated after at least one minute. If it remains that high, contact a healthcare professional immediately; if it occurs with symptoms such as chest pain, shortness of breath, weakness, vision changes, or difficulty speaking, seek emergency medical help. View AHA guidance.
The Device Should Fit the User and the Measurement Routine
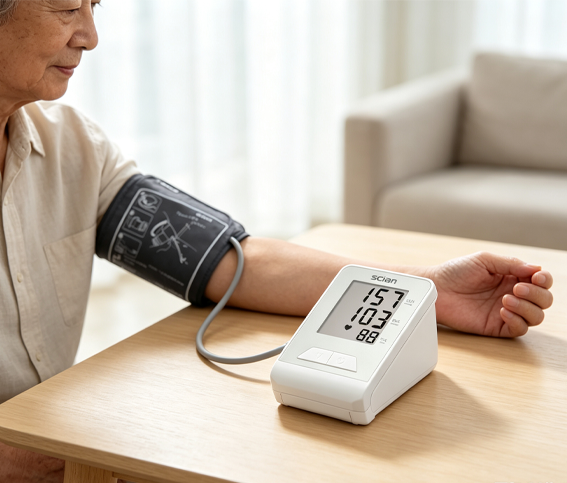
Upper Arm Monitors
Consider cuff fit, display size, memory capacity, power options, and any additional functions required by the intended user.
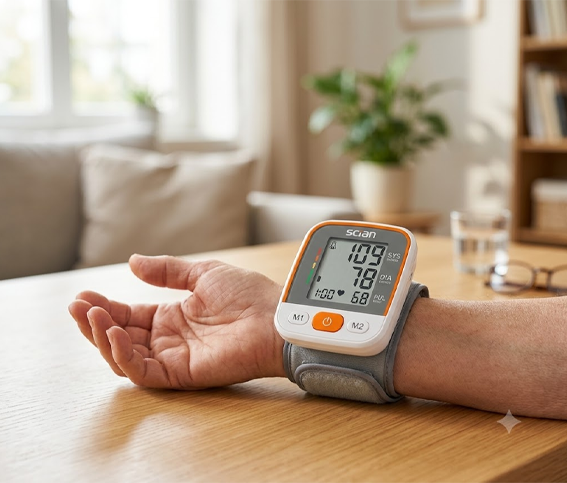
Explore Upper Arm Monitors →Wrist Monitors
Compact wrist devices can be convenient for portability, but positioning technique deserves particular attention during measurement.
Explore Wrist Monitors →The American Heart Association recommends a validated automatic upper-arm cuff monitor for home use when available and emphasizes choosing an appropriate cuff size.
Frequently Asked Questions
How long should I rest before measuring?
A common recommendation is to sit quietly for at least five minutes before starting.
Can I measure over a shirt?
For most cuff-style monitors, place the cuff on bare skin according to the device instructions.
Why should the arm be at heart level?
A supported heart-level position helps standardize measurement posture from one reading to the next.
Should I take more than one reading?
The American Heart Association recommends two readings about one minute apart during home monitoring.
Explore SCIAN Home Blood Pressure Monitoring Solutions
Compare upper-arm and wrist blood pressure monitor formats for home healthcare, retail, and distribution programs.
Medical note: This article is for general educational purposes and does not replace diagnosis, treatment, or individualized advice from a qualified healthcare professional. Always follow the instructions supplied with your blood pressure monitor and any monitoring plan recommended by your healthcare professional.